
Adding the ScreenConnect Agent
Perform these steps on the machine that you need the agent on.
For back end:
- Login to connect.adeptcore.com with your given company credentials.
- On the left sidebar, click on “Access.”
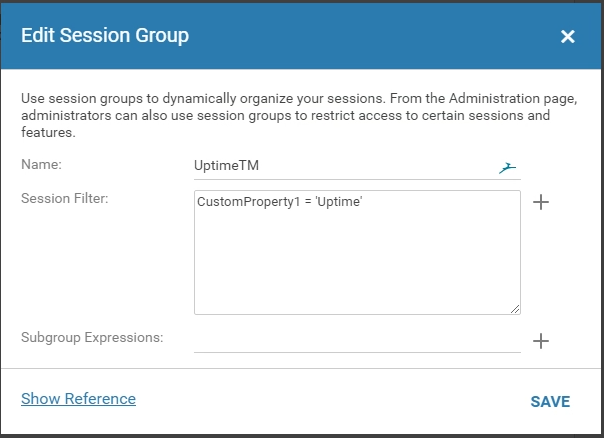
- If this is a new client, press +Create Session Group. Type the company name in the name field. In the session filter, type:
CustomProperty1 = ‘<NAME>’
- If this is a new client, press +Create Session Group. Type the company name in the name field. In the session filter, type:
Where <NAME> is the company name you entered in the name field. Hit save. Remember the value you entered for CustomPropterty1.
- If this is not a new client, find your client in the list. Click the 3 dots next to the name. Copy or remember the value of CustomProperty1.
- Hit the big blue “Build+” at the top of the list. In the company field, enter the value of CustomProperty1. The name should populate as you type it in. Leave the rest of the fields blank and hit download.
- Run the installer. ScreenConnect will automatically add the new machine and sort it into the right company.
For Front End:
- Navigate to connect.adeptcore.com.
- Click the blue arrow next to the Build Installer option.
- In the Company field, start typing in the name of the company that the machine belongs to. The name should populate as you type it in. If it does not, see the first half of this guide on how to install from the back end.
- Leave the rest of the fields blank and hit download.
- Run the installer. ScreenConnect will auto-sort the machine into the correct company.